
Introduction:
In a society where the internet and social media are so prominent in day-to-day life, web addresses are a consistently overlooked element in our lives. We often send links to others to allow them to access files, videos, or other types of media, but often these links are unnecessarily long and complex.

That’s why in this article we are going to be using Python to create a simple Tkinter GUI that will take a URL and shorten it. Whether you are new to Python or have some prior experience, this project is a great way to learn more about making functional programs and helps you apply your knowledge in a practical and fun way. Simple and functional projects like this make great beginner Python projects for kids.
Who is this Project For?
This is an intermediate-level project for those who are new to Python. At this point, you should already know the basics of creating functions and creating simple GUIs (graphical user interfaces) with Tkinter, as well. These are the concepts that you will use and build upon as you code this project.
What Will We Learn?
This URL shortener project focuses on using the Tkinter library to create the program’s GUI, as well as the Pyshorteners library to shorten the URL. Throughout the project, you will learn about creating functions, labels, and buttons to make a functional project, as well as how to integrate these libraries into your project.
Features to Consider:
- Users can type a link into the text input box
- The program will take this link and return a shortened version of it
- Users should be able to take their shortened URL from the output text box and use it to access the same file or site they originally entered.
- When the user presses the quit button, the program shuts down
Main Steps:
This project can be broken down into 4 main steps:
- Import and setup modules
- Define the Shorten function
- Create the main Tkinter GUI
- Align the GUI’s buttons
Step 1: Import the Modules:
The first thing we’ll need to do is import all of the libraries and modules that we’ll be using for the project. Because these libraries are non-native, they must be installed and imported to the computer before being used. This will let the program know that we will be using them. We do this using the import command. The code for this step will look like this:
We will now begin to set up the Tkinter window by initializing the window and titling the window. In this case, the window is called “Geekedu URL Shortener”. Once this step is complete the code should look like this:
Step 2: Define the Shorten Function
Now we’ll move on to create the shorten function. This function will take the user’s long link and shorten it into a much more concise one. We’ll start by creating two string variables, one to represent the long URL (we called this one longInput), and one to represent the final value. We will then set up the function using a def constructor as well. The first section of code for this step of the program will look like this:
Hint: Make sure to use StringVar rather than just a string, StringVars are different types and a normal string will not work correctly in this situation.
As you can see in the code, we’ve started by defining the initial shorten function, and now we need to add the code to make it functional. The first thing we’ll do is take input from the user using the .get() method. Then, we’ll make use of the pyshortener module by using it to shorten the link and setting the new link to a variable called “shortLink”. Finally, we’ll create a global variable called final, which will represent the final resulting URL. This will be set to a string and returned to the user.
The code for this step will be:
Hint: Notice that we created a global variable above. What that means is that the variable can be accessed from anywhere in the code, rather than just where it is created.
Step 3: Create the Main Tkinter GUI
Next, it’s time to create the program’s graphical user interface. This will involve setting up labels and input text boxes, as well as creating the shorten and quit buttons. Before we get started, here are the main components we will be creating:
- Label 1: an “Enter URL” label to let users know where to type their long link
- Text 1: an entry text box for users to input the long link
- Button 1: a shorten button that will run the shorten function created previously
- Label 2 & Text 2: a label and text input box to display the final shortened link
- Button 3: a quit button to end the program when clicked
We’ll start by creating a label to let users know where to place their long URL. We’ll also create a text entry box for users to paste or type their link into. This step should look like this:
Hint: There is a set format that is used for creating labels with the Tkinter GUI. The format is as follows:
Label(root, text = 'Add Label Text Here', font = 'font font size style').place(x= X-coordinate , y = Y-coordinate). Note that any section in bold will be replaced with the desired text, format, or coordinates for the label. You do not need to include all of these values, simply add in the ones you want until you get the desired result.
Next, we’ll create the shorten button and the label and input box to display the shortened URL. These will be formatted in the same way as the first label and text box. Then, we’ll add in the quit button.
Hint: Make sure to connect the buttons with the function or action they are meant to execute. For example, the shorten button executes the shorten function. After this step is done, the code will be:
Step 4: Align the GUI’s Buttons
Finally, we just need to align the labels and buttons so that the GUI looks more organized and professionally made. The six elements listed above are going to be arranged in a series of rows and columns to keep the GUI organized. The first label and textbox will both be in row 1, and the text box will be in column 2. The shorten button will be in row 2. Next, we’ll place label 2 and text box 2 similarly to the first set of labels and text boxes. They will both be in row 3, but the text input box will also be in column 1.
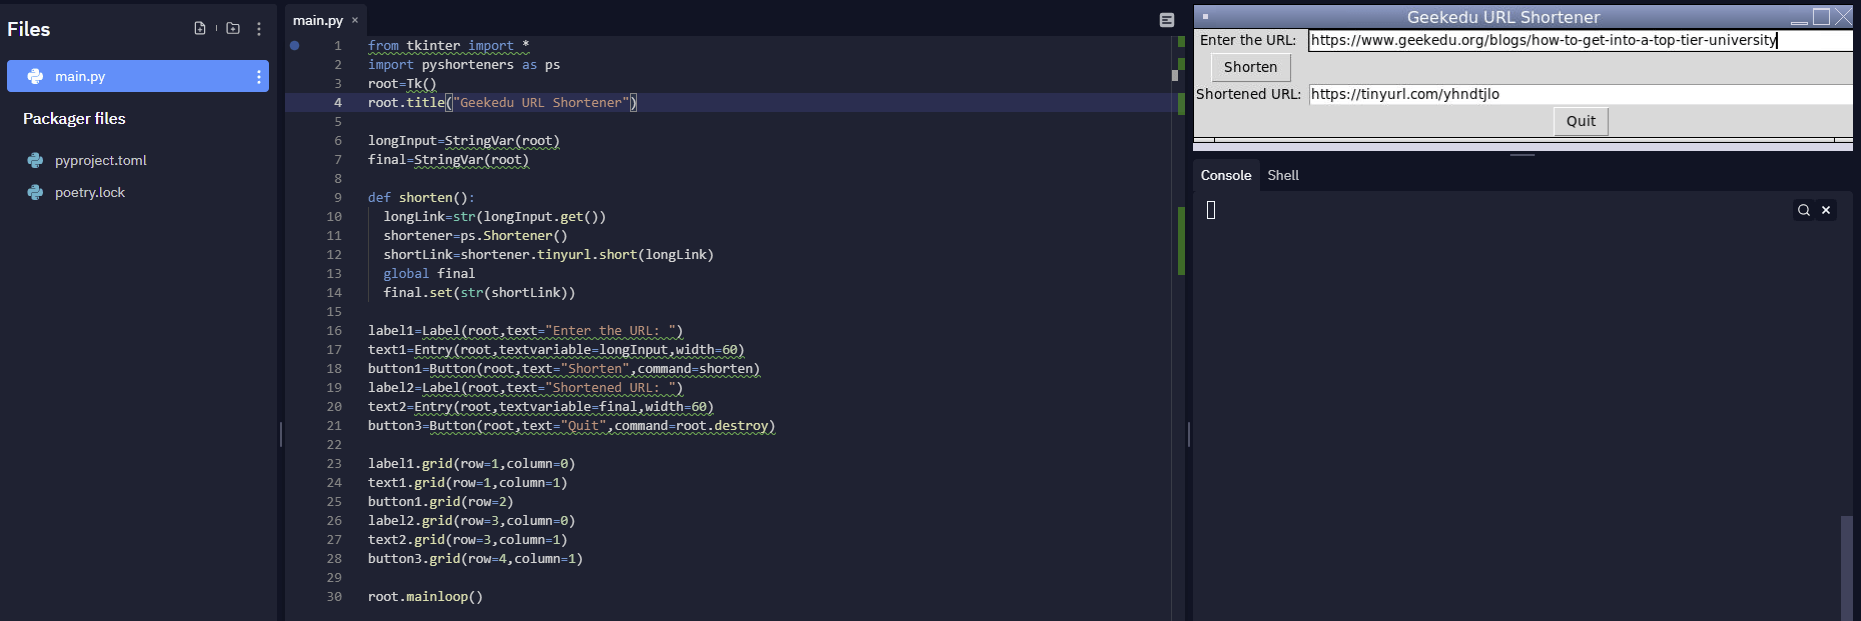
Hint: If you’re having trouble visualizing these columns and rows, have a look at the code and image below for an explanation.

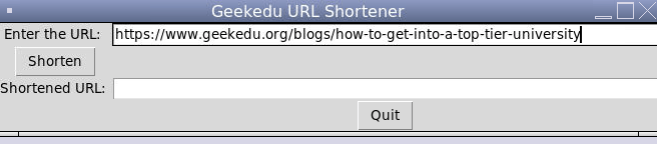
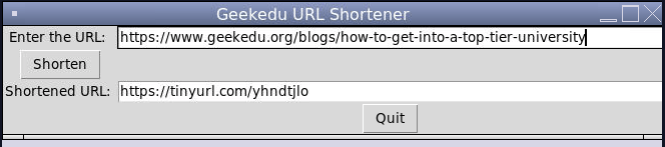
Finally, we’ll place the quit button in row 4 column 1, and add the mainloop() method and we’re done! After this step is complete your code should look like this:
Project Complete!
And now the project is complete! At this point, you will be able to use your URL shortener to create short and concise links for the next time you need to share files or web pages with others. Hopefully, you’ve enjoyed this beginner Python tutorial for kids, and if you’re stuck or have any issues with your code, try reviewing it again either in your text editor or by looking at the code mentioned above as a reference.
.png)


