
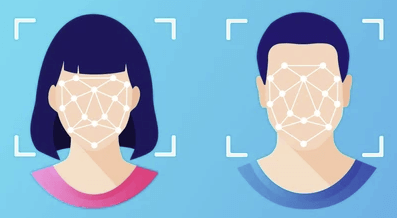
Introduction:
In this article, we are going to be using the OpenCV library to create a simple face-detection program. The program will take input from a computer’s camera and will identify all of the faces in view. This project is a great way for kids to learn more about how computer vision works and how it can be applied in our day-to-day lives. Whether you are new to Python or have some prior experience, this project is a great way to learn more about making functional programs and helps you apply your knowledge in a practical and fun way.
Who is this Project For?
This is an intermediate-level project for those who are new to Python. At this point, you should already have experience with using for loops, creating functions, and using/importing libraries. These are the concepts that you will use and build upon as you code this project.
What Will We Learn?
This project focuses on using the OpenCV library and pre-made Haar Cascades to identify faces through webcam input. This is a relatively simple project that has a wide variety of uses, so let’s get started!
Features to Consider:
- The program will be able to take input from the webcam of the computer running the program
- The program will identify all of the faces in the inputted video or image
- The user will be able to quit the program and close the window by pressing the escape key
Main Steps:
This project can be broken down into 5 main steps:
- Import modules
- Setup the cascade and webcam input
- Read the image
- Outline faces
- Close the program
Step 1: Import Modules:
The first thing we’ll need to do to begin the project is to import the libraries and modules that we’ll be using. We will be using the OpenCV library for this project. The first step will be to install the libraries, to do this, we will type:
Hint: Depending on the device you use, the program may not just work with OpenCV, so sometimes using the command pip install opencv-python-headless will resolve the issue.
Using the pip install command imports the library to the computer so that we can use it in the program. Next, we’ll need to import the libraries we need. To do this, we’ll type:
Importing the library lets the computer know that it will be actively using the library in this program, so this step is essential for the program to work correctly.
Important Note: There is a chance that this program may not run correctly on certain online IDEs, so it is recommended that you use one that has been installed on your device.
Step 2: Setup the cascade and webcam input
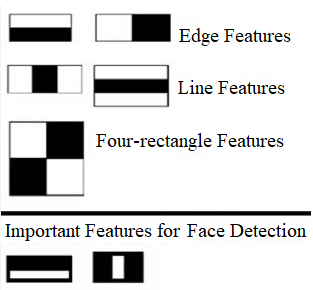
Now that all of the modules have been imported, it’s time to set up the Haar Cascade that will be used to find faces in an image or video. This cascade is a pre-trained computer vision model that can be used to identify the face by breaking down the image into pixels and analyzing any patterns it finds. It looks for specific patterns of light and dark sections of an image or video to identify faces.
You will need to download this file and add it to your project.
Hint: You can find the face detection Haar cascade at this GitHub repository.
Once the file is added to your project, we will add it to the program with this line of code:
Then, we need to set up the webcam so that the program can take input from it. To do this, we will use this code:
Alternatively, you could use a pre-recorded video and upload it to the program like so:

Step 3: Read the image
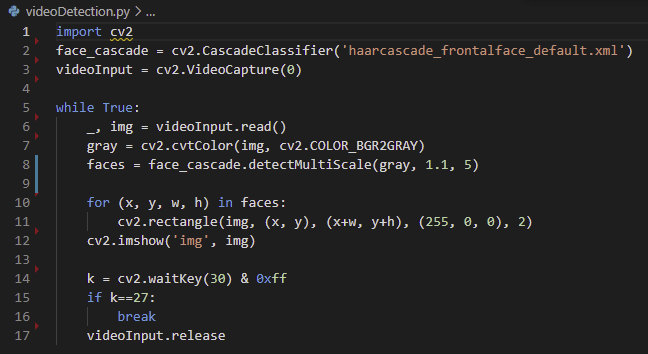
Now that the library and webcam input has been set up, it’s time to move on and read the video input. To do this, we will add a line of code to read the video, one to convert it to grayscale (black and white) in order for the model to read it, and one to detect the faces within the video frames. All of this will be inside a while loop so that the program runs only when there is input for the model to read from. The code for this step will be:
Note that the detectMultiscale function takes 3 parameters: input image, scaleFactor, and minNeighbours. ScaleFactor specifies how much the image size is reduced with each scale. MinNeighbours specifies how many neighbors each candidate rectangle should have to retain it. The image input determines where the computer will get the input from, be it an image, video, or live webcam input.
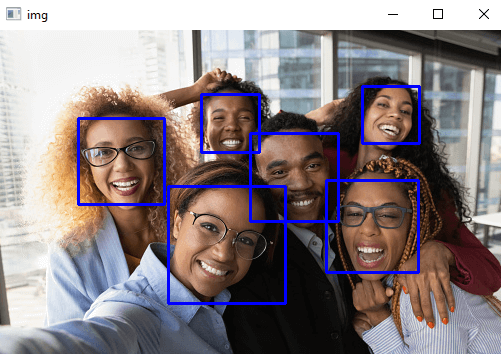
Step 4: Outline faces
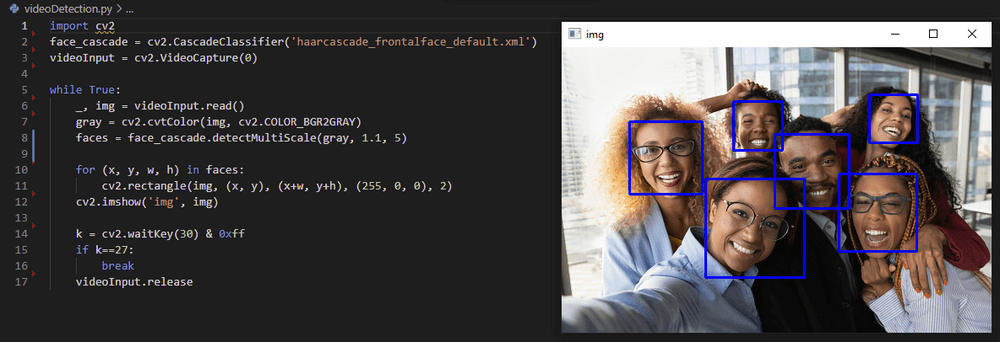
Now that the faces have been identified, it’s time to outline them in the program. This will make it easy for the user to see where the program has identified each face. To do this, we will be using a for loop to draw a rectangle around each face. This for-loop will take 4 parameters: the x-coordinate of the face, the y-coordinate of the face, the width, and the height. Then, it will draw a rectangle around the first face and repeat the process for every face that is identified. Finally, we’ll use a .imshow command to show the image (or video) with the faces outlined At this point, the code should look like this:
Step 5: End the program
Now that the main program has been completed, it’s time to create and add the code that will allow the user to quit the program by pressing the escape key. This is important because it means that users can easily terminate the program without needing to go into their interpreter or IDE to stop the program manually. To do this, we will start by creating a variable (in this case we’ve called it ‘K’ to represent the key that is pressed. Then we’ll check if the key is equal to 27. This will check if the escape key was pressed, or whether it was a different key. If the escape key was pressed, we will run a break command which will break the while loop that causes the code to run, thereby stopping the program. Finally, we will release the video object, which will end the program and stop using the webcam. At this point, the project is finished and the code should look like this:
Project Complete!
Now the project is complete! We hope you’ve enjoyed this simple Python project for kids, and have learned more about the basics of computer vision using OpenCV. At this point, you will be able to use this program to detect faces using your computer’s webcam or a pre-uploaded video. Feel free to test your code now and see how it works. If you’re stuck or have any issues with your code, try reviewing it again either in your text editor or by looking at the code included in the article as a reference.
.png)


