
Who is this Project For?
This is an intermediate-level project for those who are new to Scratch. Before beginning, you should already have some experience. This includes knowing how to create costumes, variables, and if-statements, and use operators. These will be the core concepts used in this project.
What Will We Learn?
This project focuses on using knowledge of Scratch components like if-statements and operators. By the end of the project, you will be able to use these concepts to create a simple game.
Features to Consider:
- The game should display the maze, the ending point, and the main sprite.
- There should be a timer that counts down.
- If the player reaches the end before the timer hits 0, the maze changes and gets harder.
- If the player does not complete the maze in time they lose.
- If the player completes all the mazes they win.
Main Steps:
This project has 5 main steps:
- Create the sprites and backdrop
- Code the main sprite’s motion controls
- Finish the main sprite’s code
- Code the end point sprite
- Code the backdrop
Step 1: Create the sprites and backdrop
The first thing we’ll need to do is create all the sprites and the backdrop we need for the game. To do this, we’ll start by choosing an image to be our sprite. In this case, we’re using the button sprite. This will be the main moveable sprite that will travel through the maze.
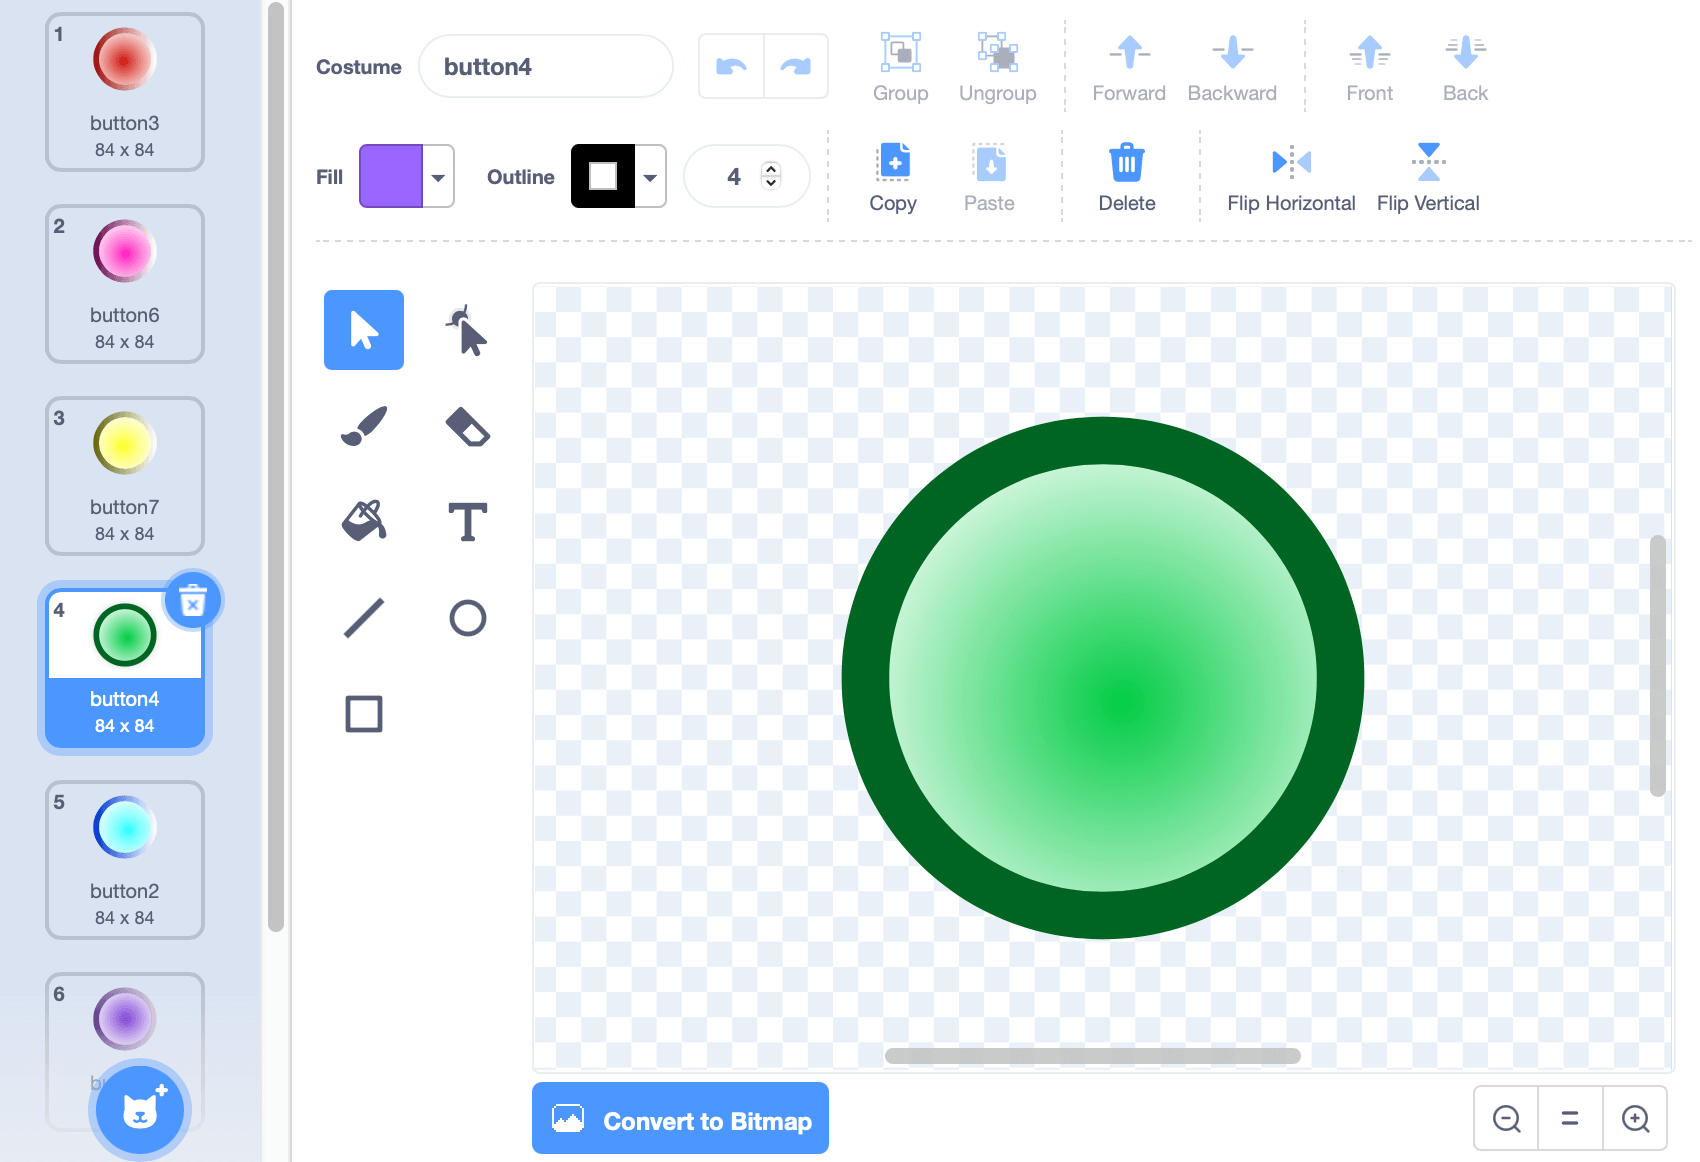
Hint: if you want the sprite to change colours, make a bunch of costumes in different colours and we can alternate between them
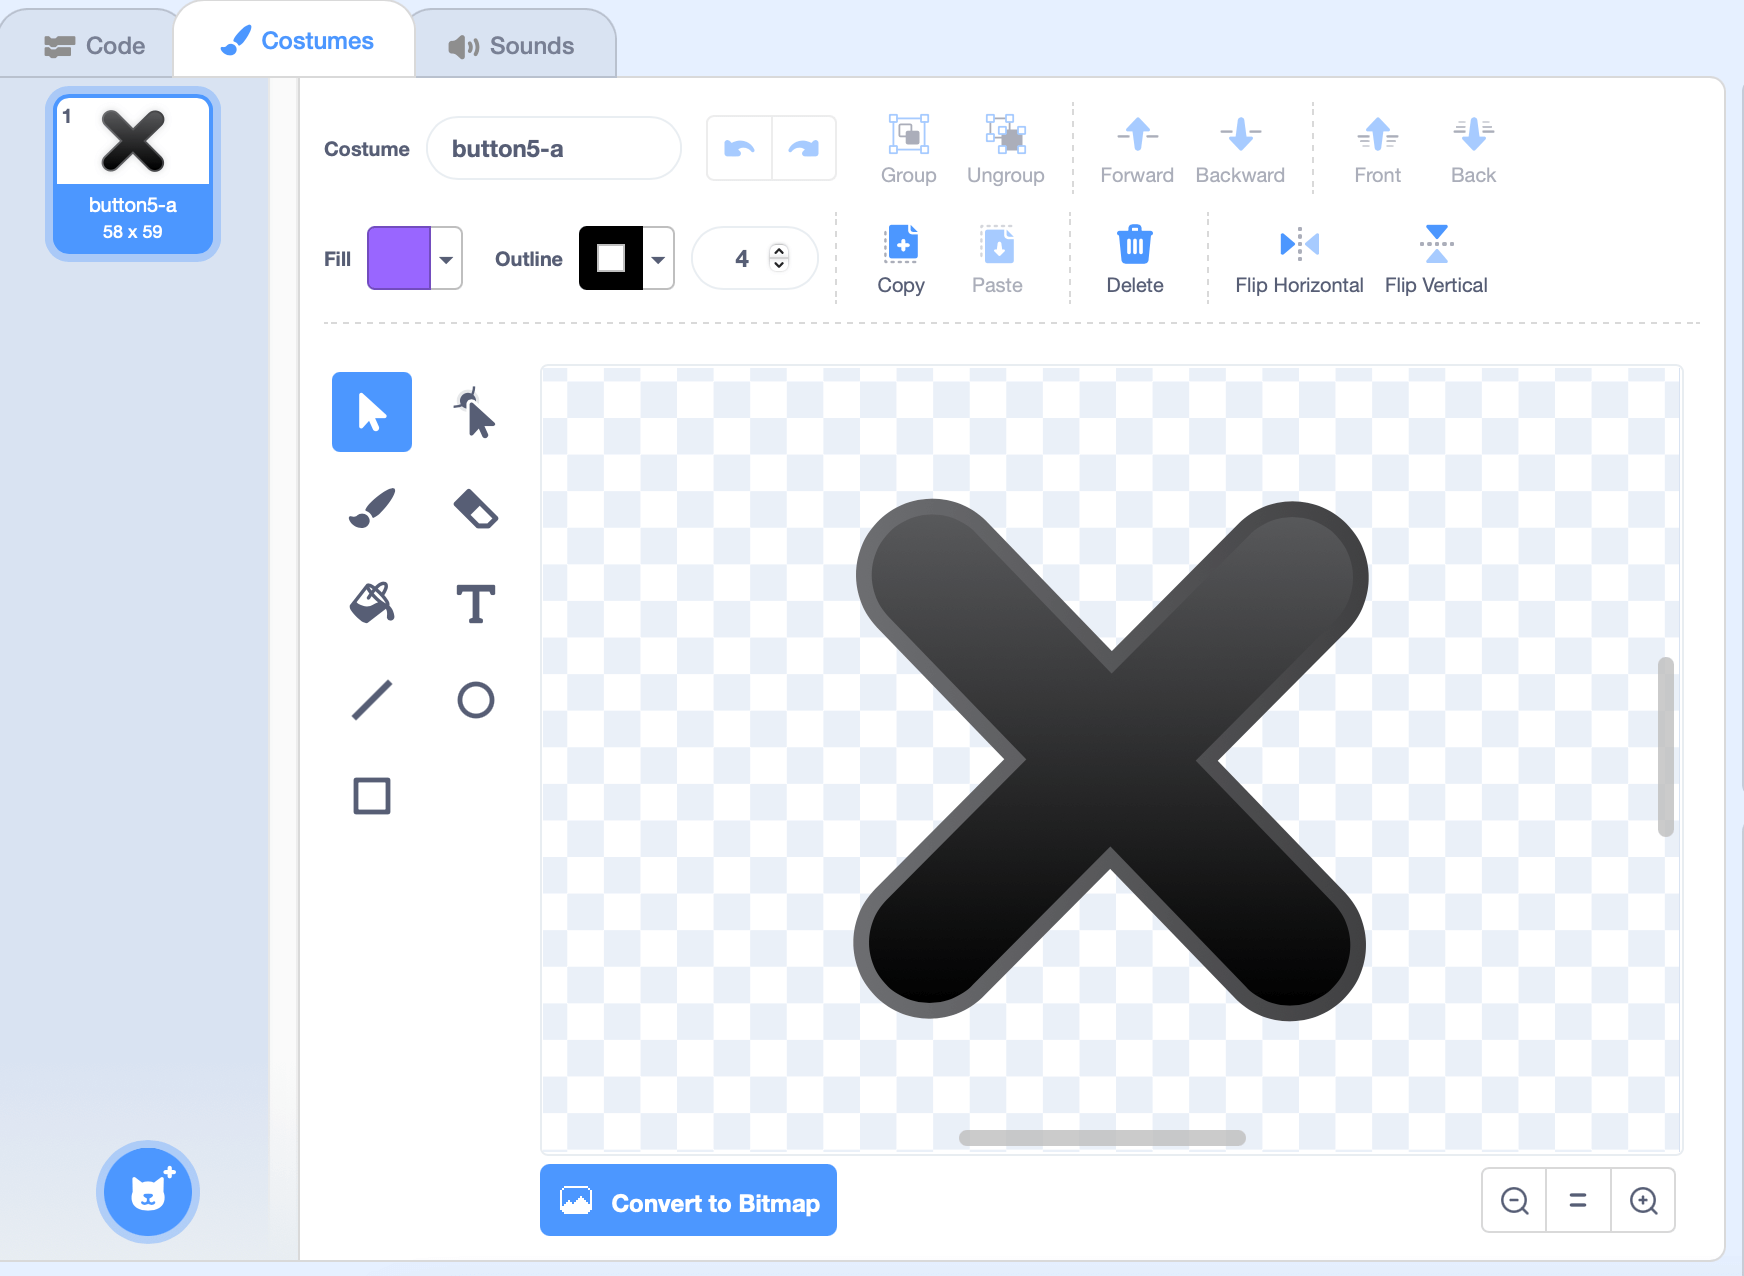
Next, we’ll need to choose a sprite to mark the ending point in the maze. In this case, we’ve chosen to use an ‘X’ sprite, but any sprite will work.
Finally, we need to choose a backdrop. To do this, we will search up images of a maze, and choose the ones we want. We will save these images to the computer, then upload them to scratch through the backdrop menu.
Hint: Try using multiple maze images as different levels, once one level has been completed the player can move on to the next level.

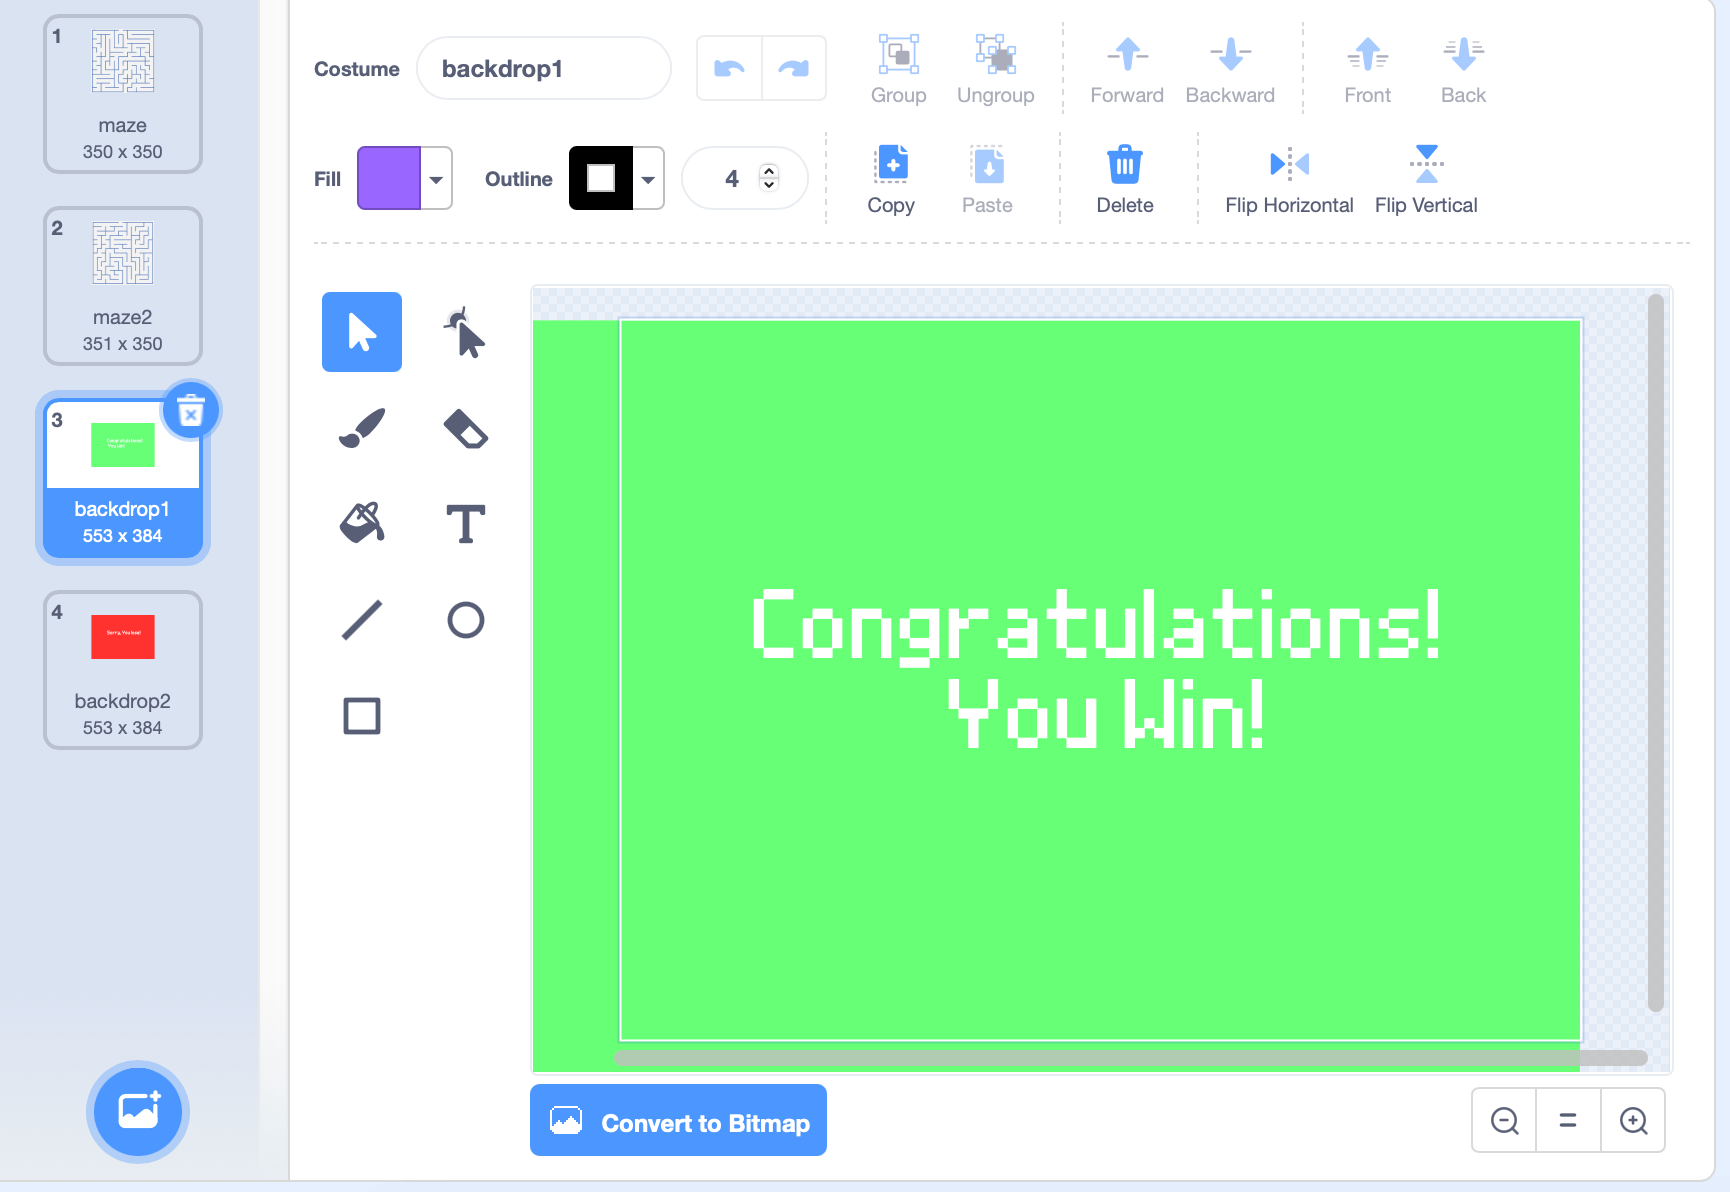
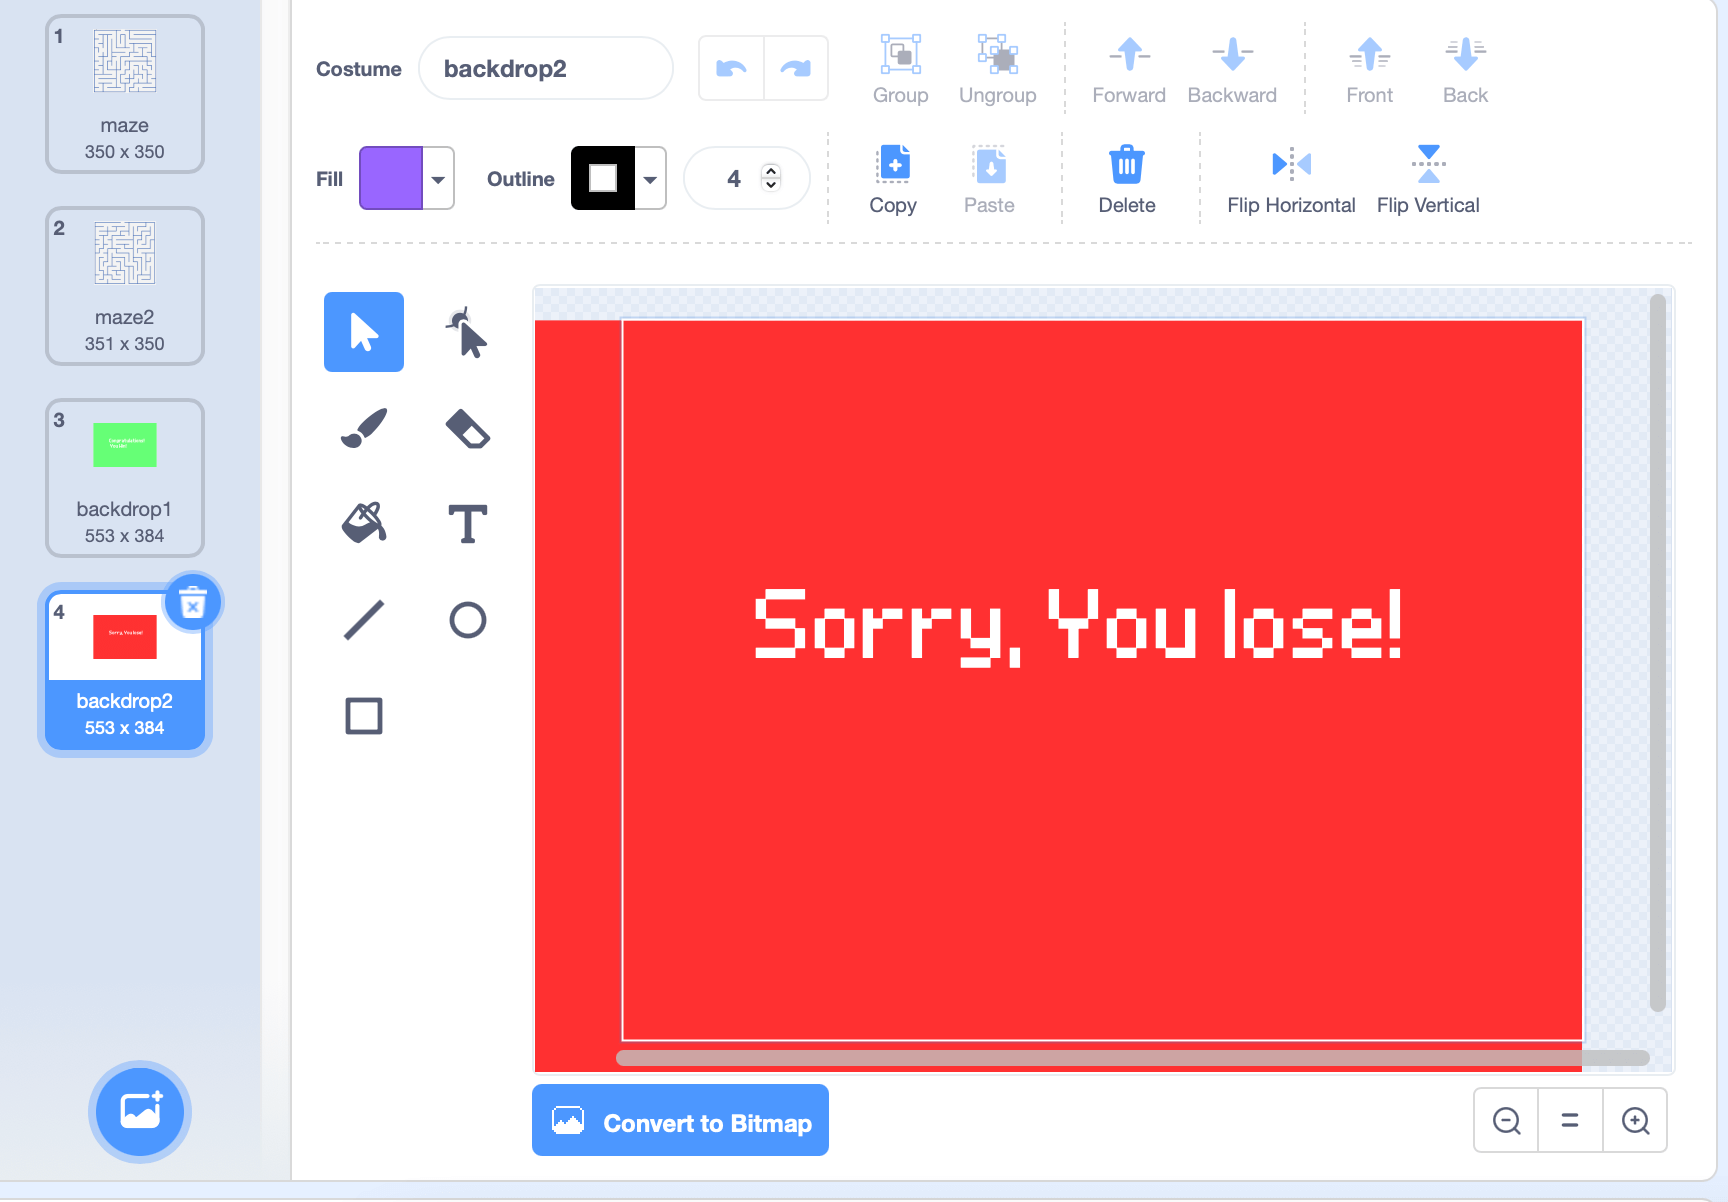
We will also need to make a win and lose backdrop. For the winning backdrop, we will colour it green and add text saying “Congratulations! You win!”. The losing backdrop will be red and say “Sorry, you lost!”. These will be triggered when the player either wins or loses the game.
Step 2: Code the main sprite’s motion controls
Once we've created our sprites, we can get on to creating the code that will make the sprite move. We’ll start by dragging out a “when green flag clicked” block. Underneath we’ll show the sprite and set its location to wherever the beginning of the maze is. In this case, it’s (12, -164). We will also create a variable called “Time” and show that. Now that the main setup is done, we can code for the arrow keys to move the sprite. Start by adding a forever loop and two if statements. We want to check if the up arrow key is pressed, and then change the y position by 2. The second if statement will check if the sprite is touching the maze walls, and if so, the sprite will change its y-position by -3.
The code should look like this:
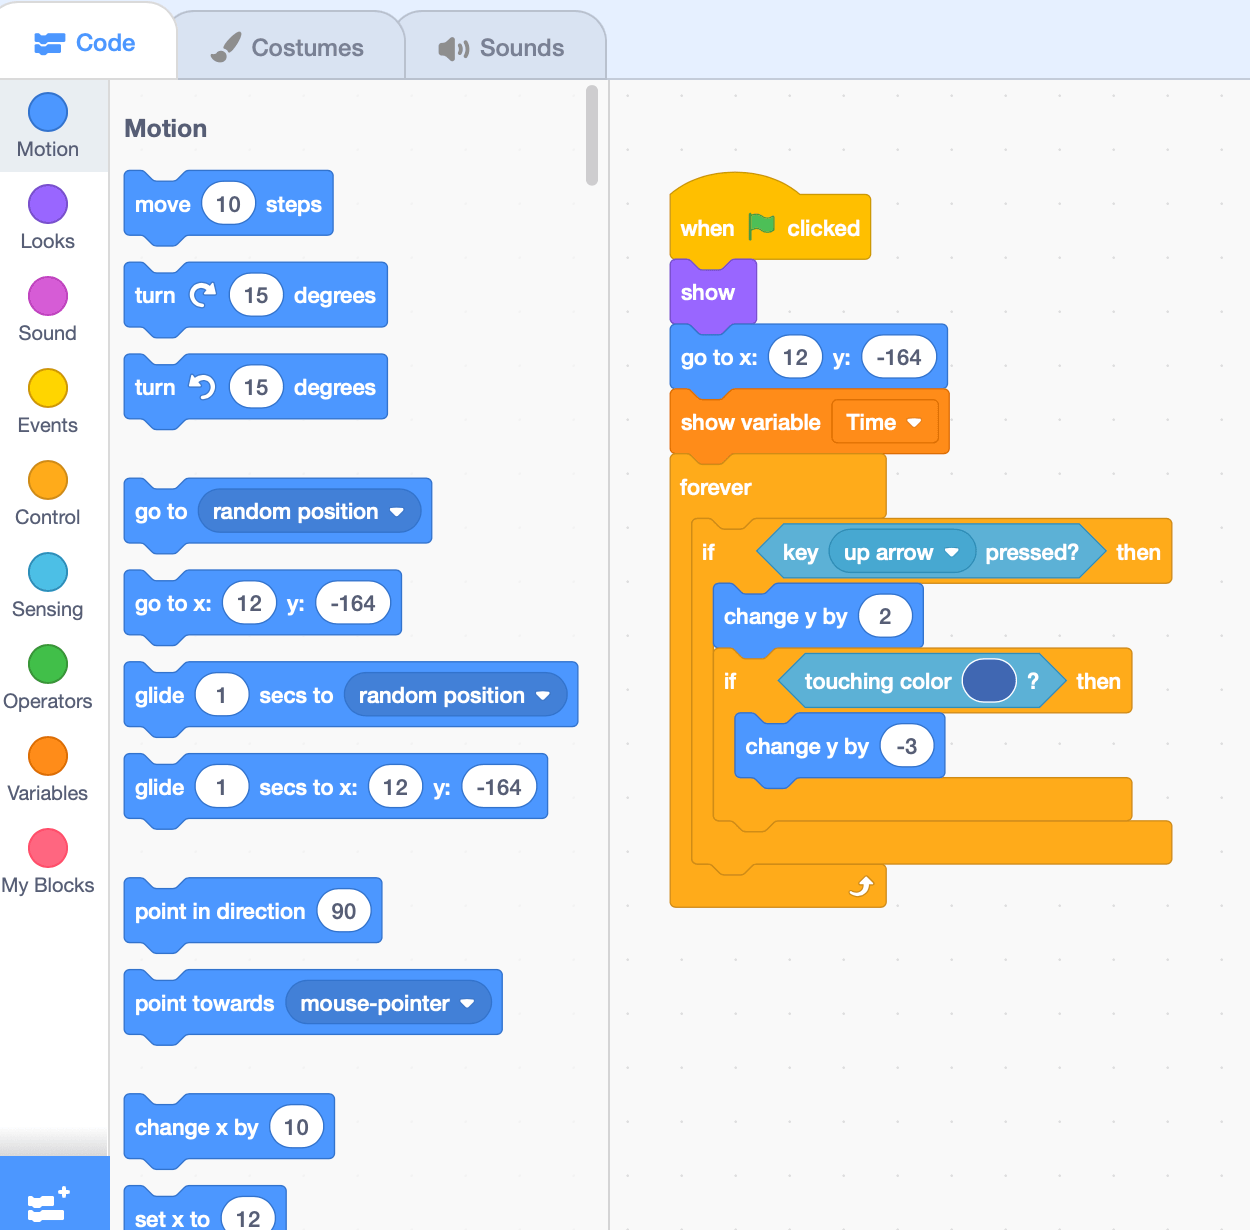
Hint: To check if the sprite is touching the walls, use a "touching colour" block and the eyedropper tool to choose what colour to check for. Make sure each if-statement has the exact same colour!
Next, we’ll make the same if-statements for the other three arrow keys. Each key will move the sprite in a specific direction:
- Left arrow: changes x-position by -2
- Down arrow: changes y-position by -2
- Right arrow: changes x-position by 2
If the sprite is touching the maze walls the sprite will move -3 pixels in the opposite direction that it was moving initially. Finally, we need to grab one final if-statement and check if the main sprite is touching the endpoint. If so, we want to create a new message to broadcast the “next maze” message and set the sprite’s position back to (12, -164). This will reset the game for the next level. In the end, the code will look like this:

Step 3: Finish the main sprite’s code
Now that the main sprite can move, we need to add the code to control what happens when the green flag is pressed.
To start, we’ll grab a green flag block and underneath we’ll add a forever loop and an if-statement. This will check if the timer variable is equal to zero, and if so, it will broadcast a “game over'' message. Next, we’ll drag out another “if green flag clicked” block. Under this one, we need to set the backdrop to our maze backdrop and set the timer variable to 40. To make the timer countdown, we will add a “repeat until” block to wait one second, then change time by -1.
This will happen until the timer reaches 0.
Hint: If we want to make the ball’s colour change continuously, we can take a green flag block and add a forever loop under it. Then we’ll make the sprite wait 0.5 seconds and then change the costume to the next costume. After this is done, the code will look like this:
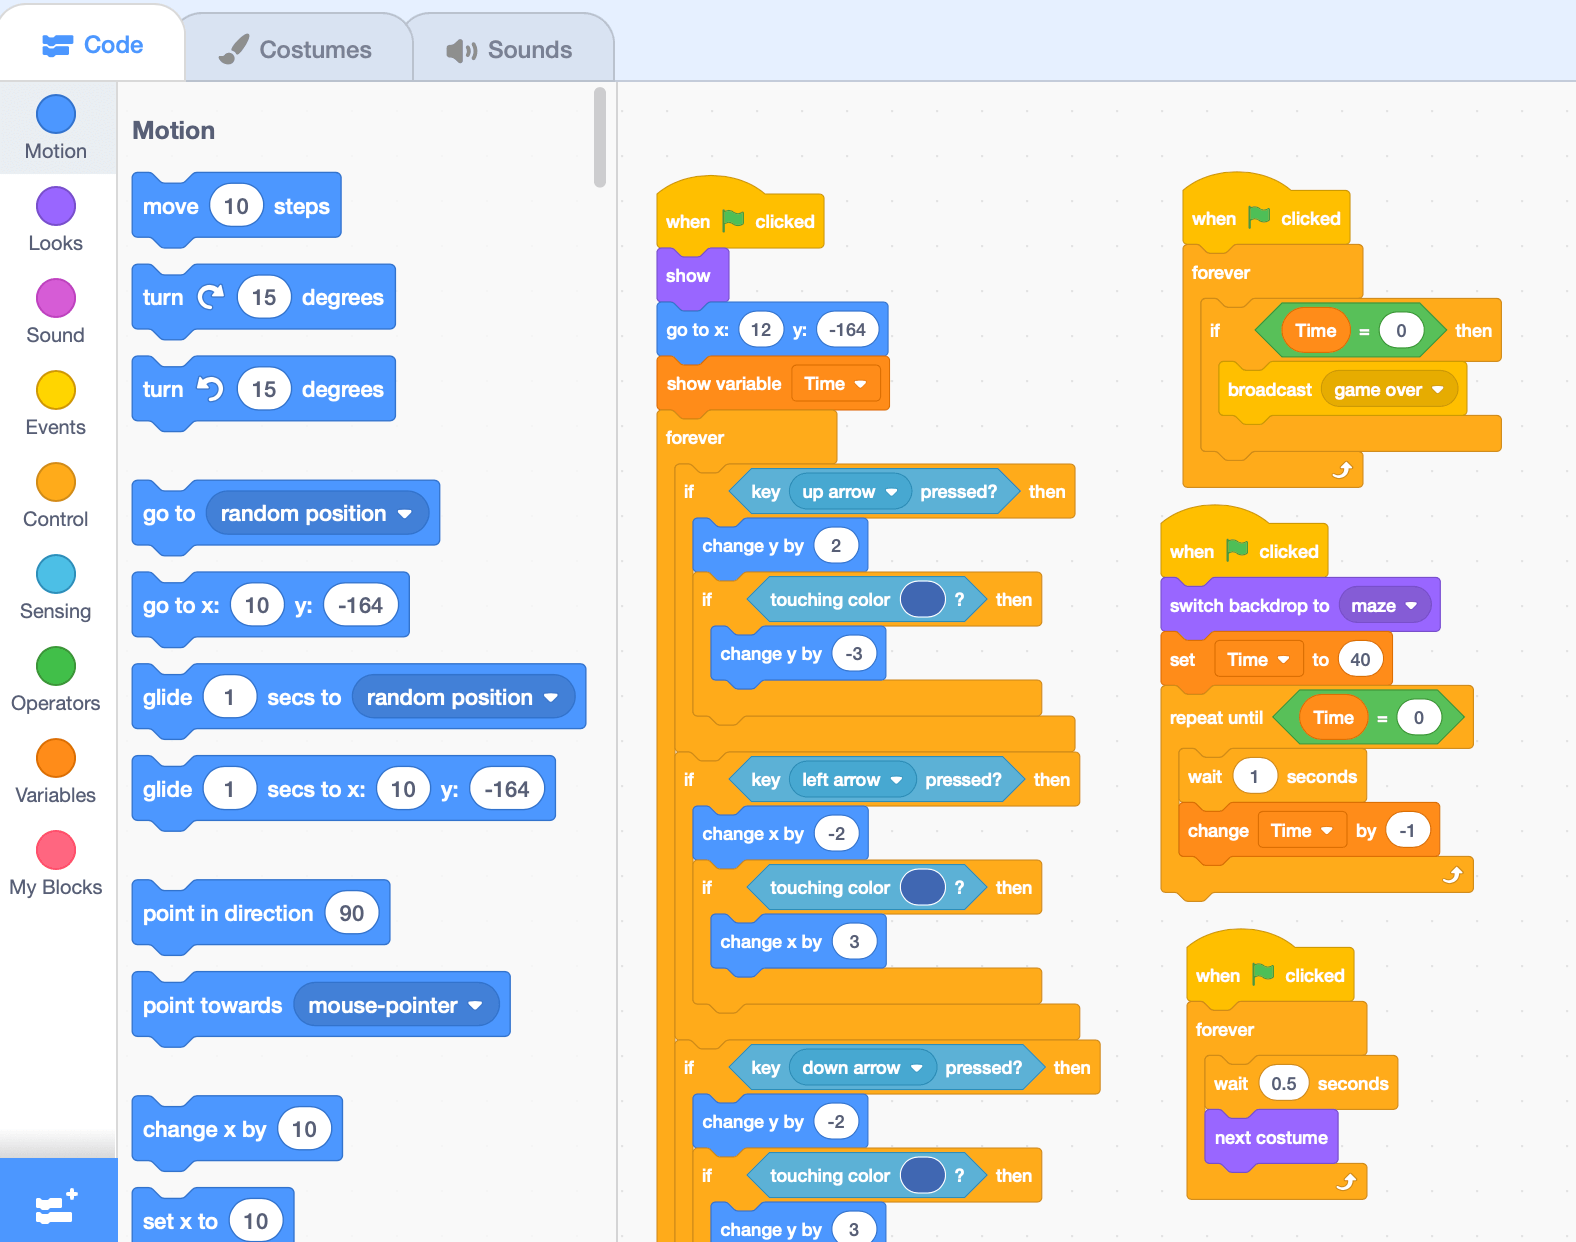
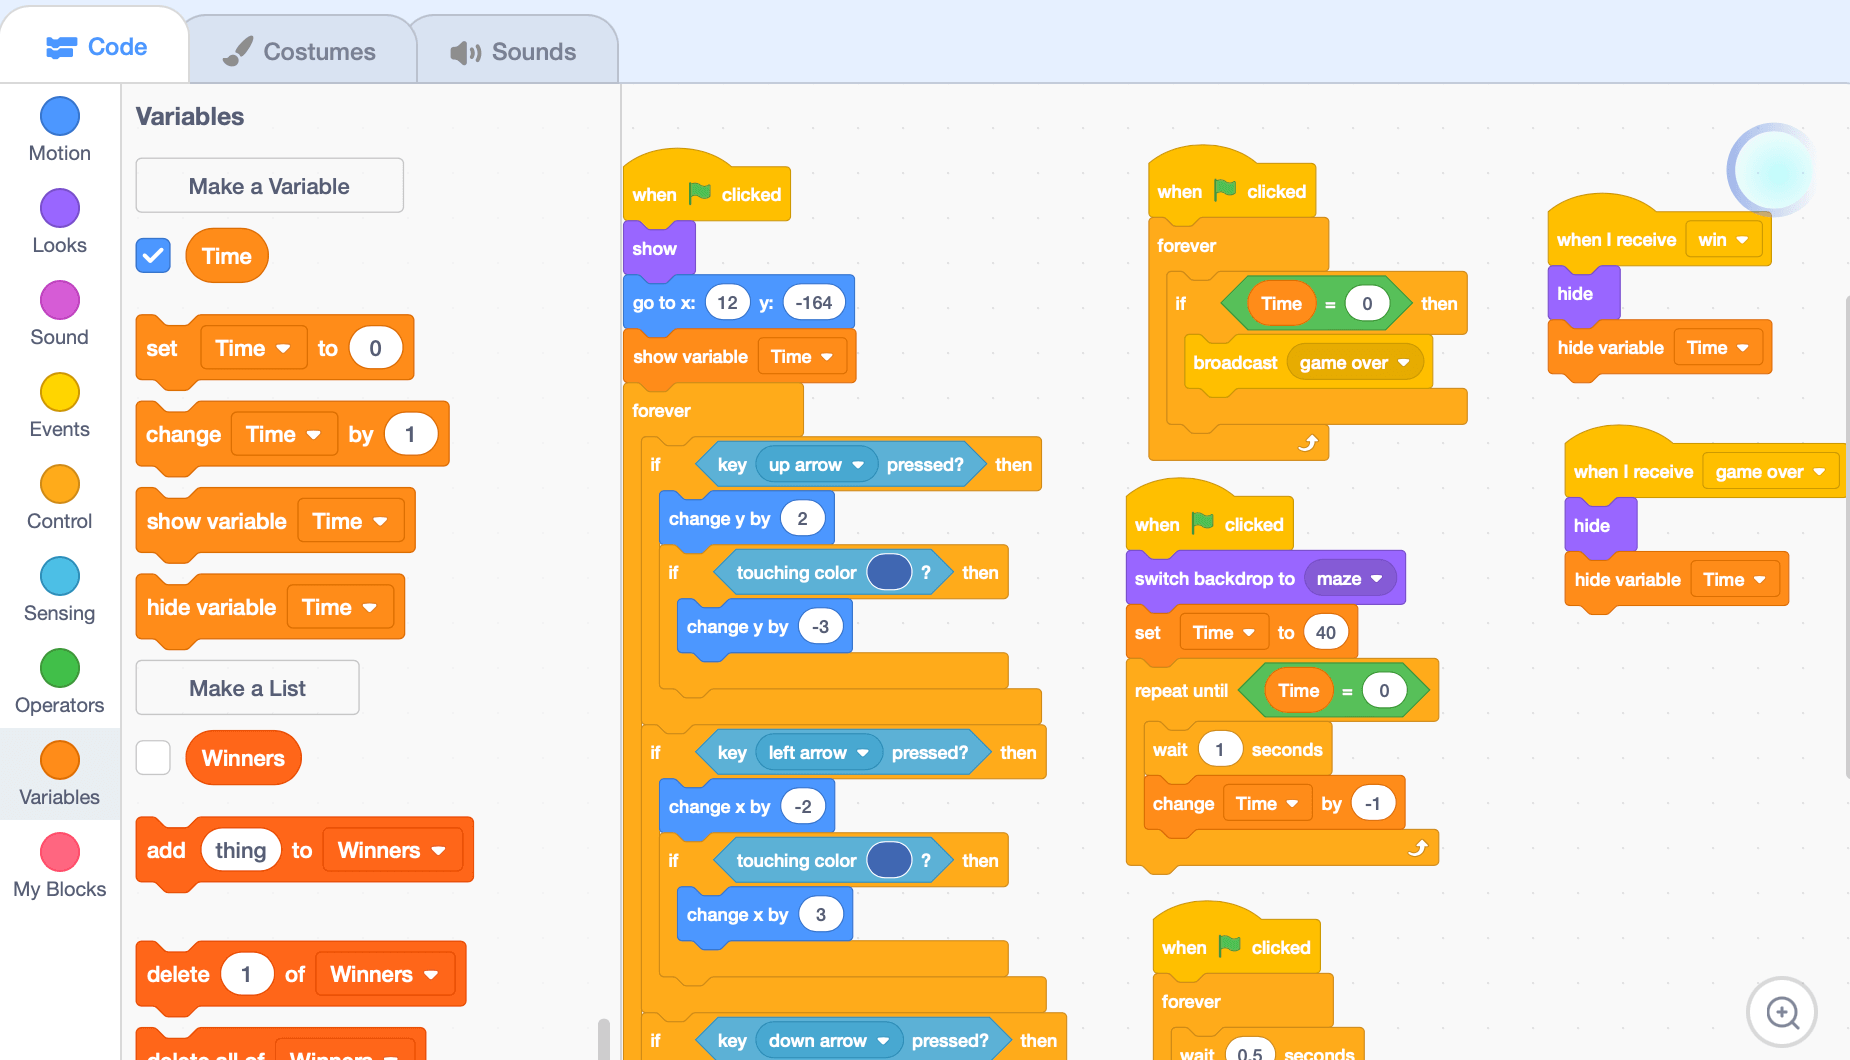
Next, we’ll add two code blocks to control what the main sprite will do when it receives the win or game over messages. If the win message is broadcasted, we will need to hide the sprite and hide the time variable. We will do the same when the game over message is received. In the end, the code will be:
Step 4: Code the end point sprite
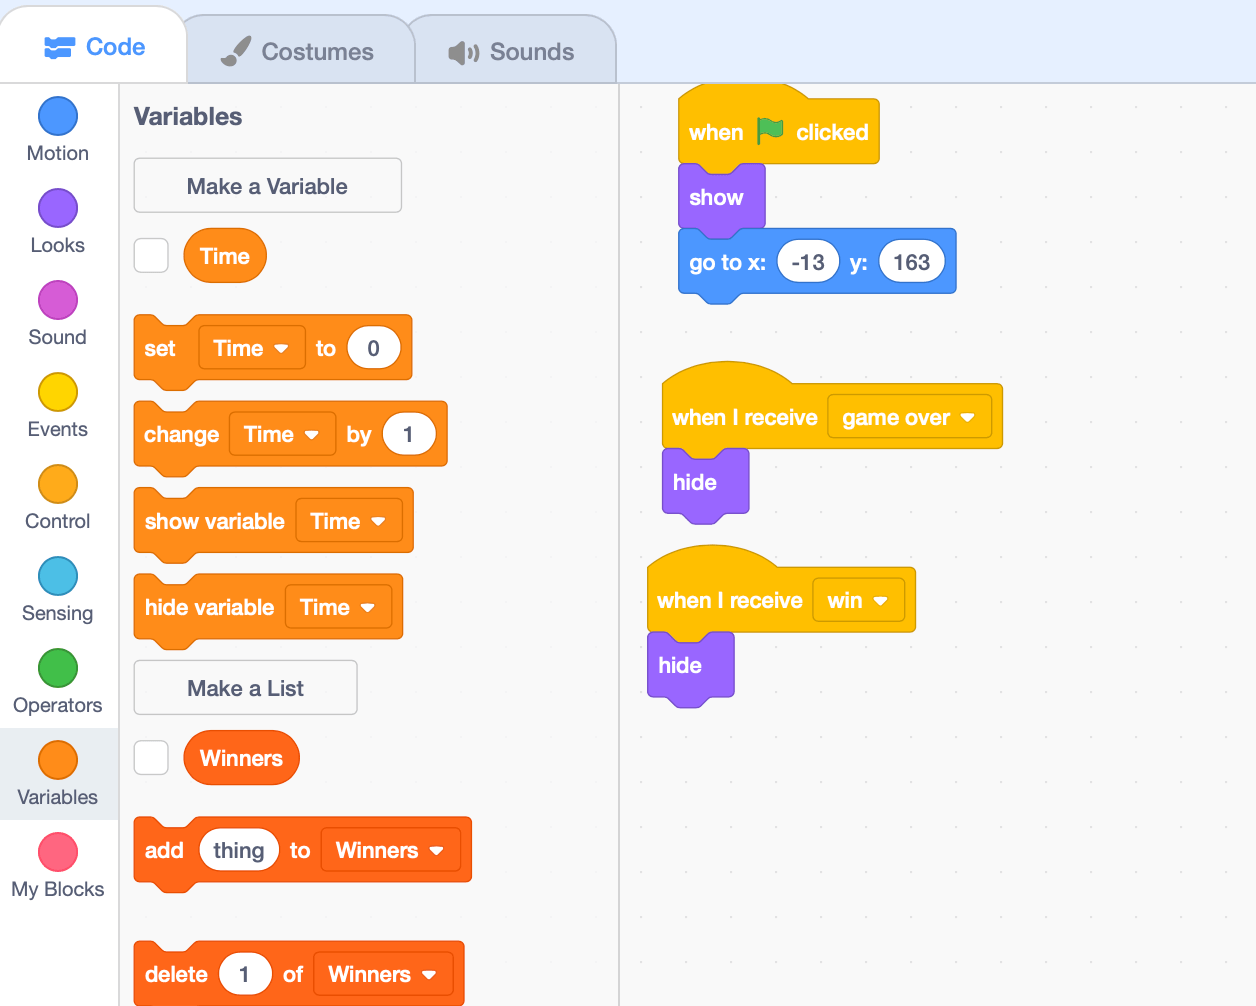
Now that we have finished the code for the main sprite, we can move on to creating the code for the end point sprite. Start by adding a “when green flag clicked” block. Underneath, hide the sprite and set its location to wherever the end of the maze is (In this case, it would be (-13, 163). Now we just need to add the code to make it so that when the sprite receives the “win” or “gameover” messages it will be hidden. In the end, the code will be:
Step 5: Code the background
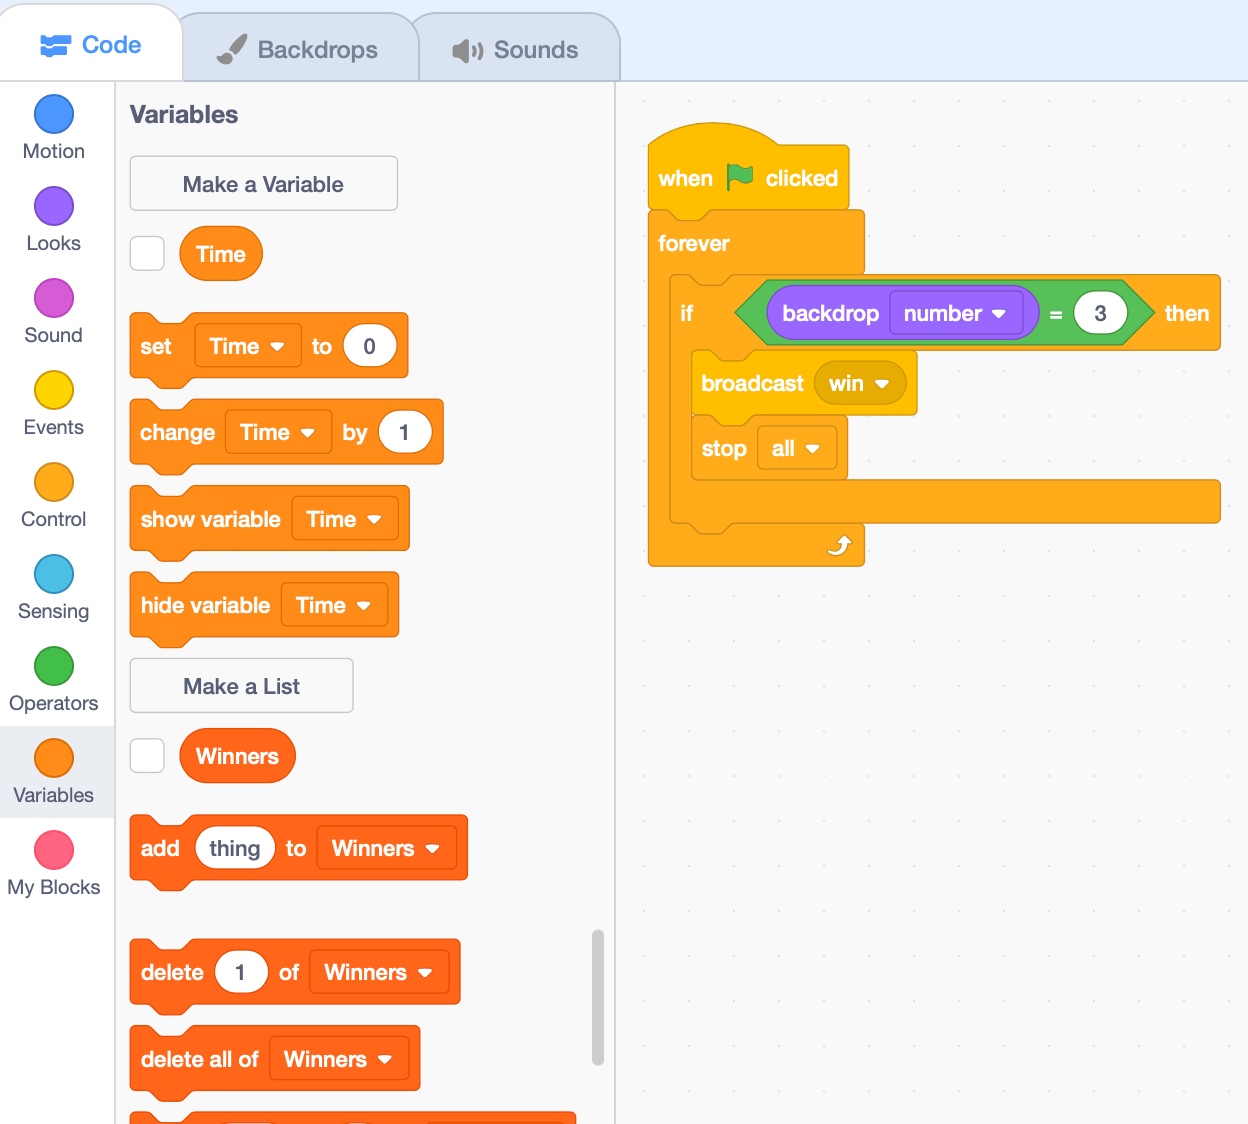
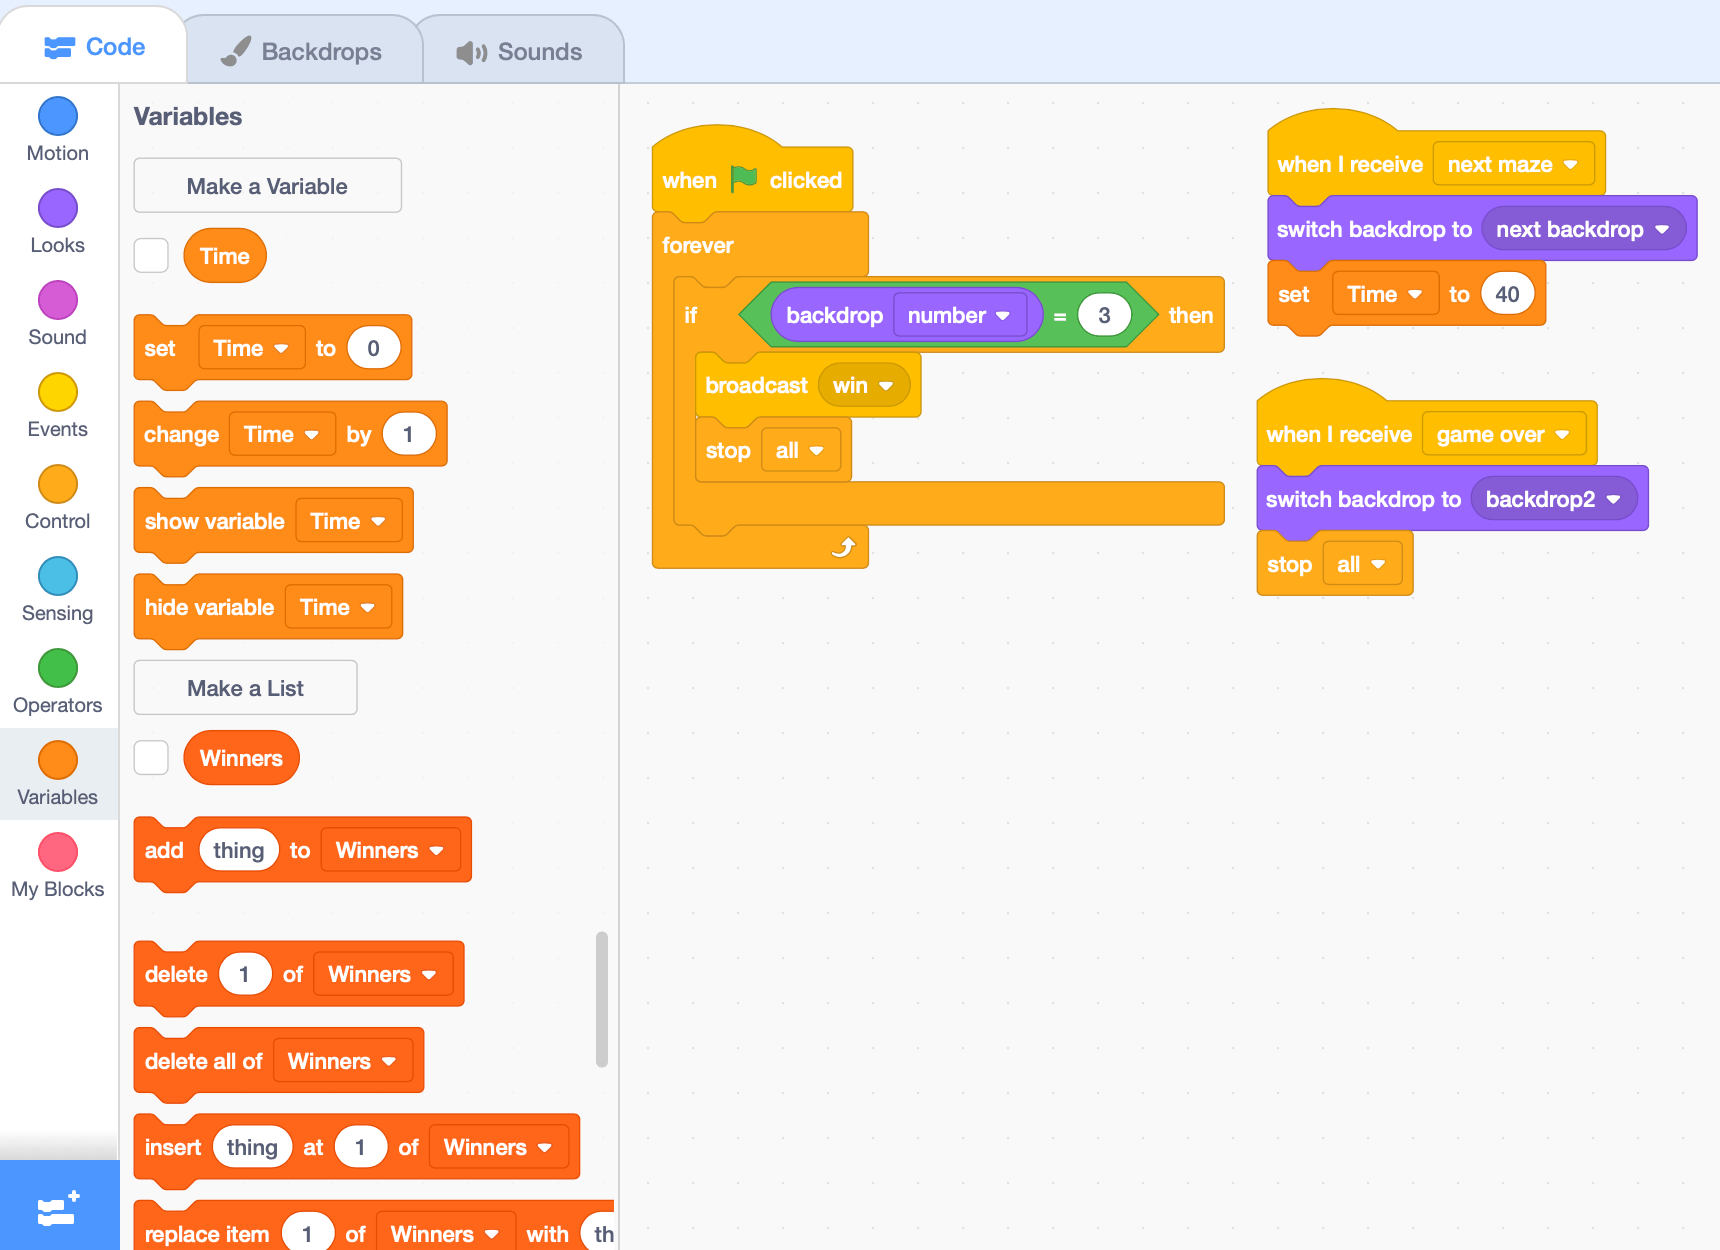
Now that we have finished the code for the sprites, we can move onto creating the code for the backdrop. We’ll start by making sure that the “win” message is broadcasted if all the maze levels are finished. To do this we’ll drag out the green flag block and a forever loop. Inside we will add an if statement to check if the backdrop number is equal to 3. If so, the sprite will broadcast the “win” message and stop the game.
Next, we’ll define what will happen when the backdrop receives the “next maze” and “game over” messages. When we receive the "next maze" message, we want the code to switch to the next backdrop and set the timer variable to 40. When the game over message is received, we want the backdrop to change to the losing backdrop (In this case it’s called backdrop 2) and stop all the game elements. Once this is complete, we have finished the game, and the code should look like this:
Project Complete!
And now we’re done! Feel free to test your game and see how it works. If you’re stuck or have any issues with your code, try reviewing it to see if you’ve made any mistakes, or check out the code shown above as a reference.
Keep Learning: Scratch Coding for Kids
Geekedu offers Scratch coding for kids that teaches beginners fundamentals in coding by making games. Outside of Scratch, we also teach coding courses for kids 8-18 in a variety of languages like Python, Java, C++, Animation and more.
Check out our online courses for kids, or contact our admissions team to learn which course is best for your student!
.png)


